
RE:CAP
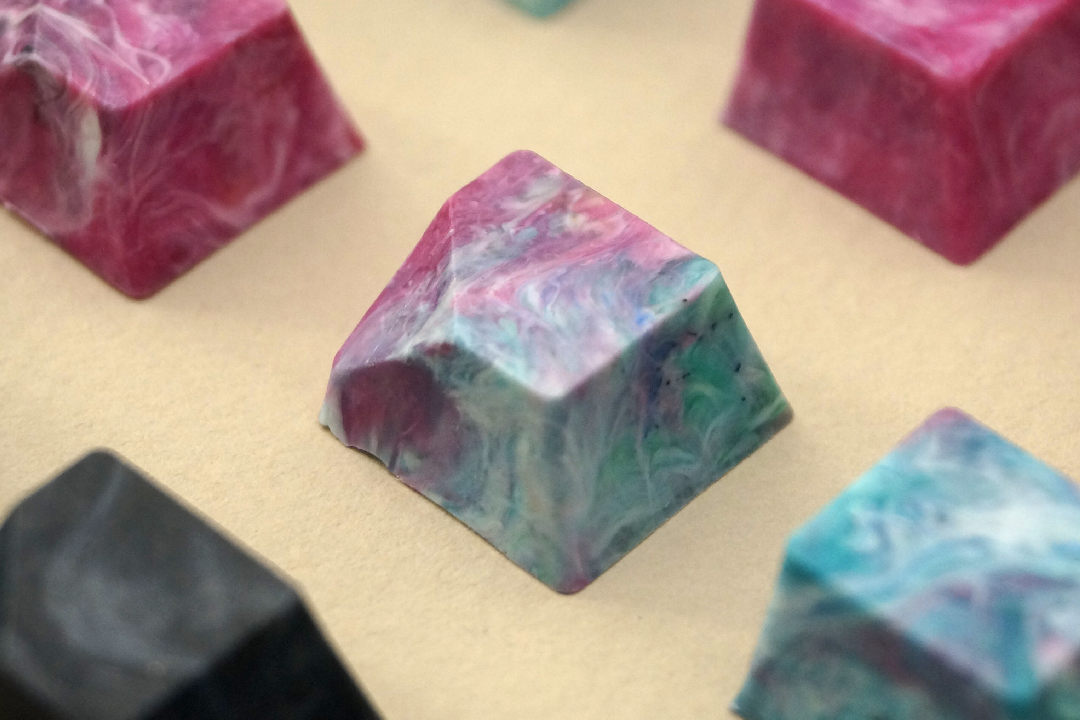
We’ve been trying to make these keycaps from 100% reycled plastic for over a year now (and we’re really excited to share our progress with everyone!)
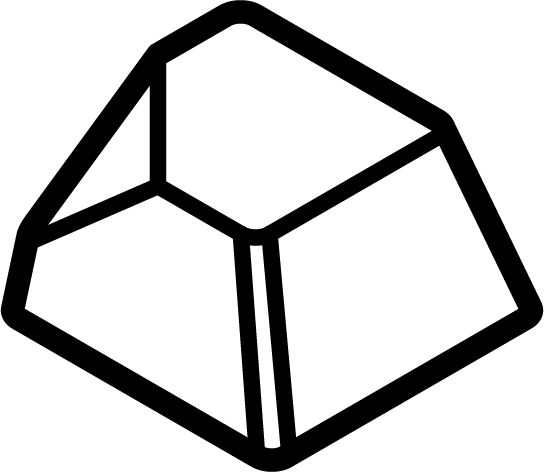
Before we dive into this project, I’d just like to mention that these keycaps are for sale , in fact you can buy them right here, right now by clicking the little button on the photo above. these keycaps are all sold out! Do join our discord for future updates and behind the scenes or if you just want to chat about plastic.
Now that that’s out of the way, lets explore the journey that this little project has taken us on, and I hope this will be useful (or at least entertaining) to you somehow!
WHY RECYCLED?
I was first introduced to the world of recycled plastic through the works of some really cool artists and makerspaces, a few of my favourites being kooij, noplasticsunday and plastify.sg.
It was amazing how these craftsmen were able to breathe new life into what was essentially trash. I saw this as a challenge, equal parts technical and aesthetic - could I make good quality injection moulded keycaps from recycled plastic?
AHHHHH! MOULD!!
Immediately we hit our first road block, how would we be able to fabricate a good enough mould for injection moulding? The silicone we usually use definitely wouldn’t be able to withstand the pressure and temperatures needed, and a steel or aluminium mould would be way out of our budget.
The answer lay in a familiar place - 3D printing! Specifically, resin printing with a special resin designed to withstand high temperatures. I got this idea from Buster Beagle 3D on YouTube, who used a similar resin to make a similarly sized injection mould.
Now that we had set our sights on 3D printing, I just had to design the mould! Thankfully there was no shortage of information online, and I was able to get a basic understanding of the key design principles after a couple of days.
Once I was confident enough that I understood what I needed to create, I got to work modelling in Rhino 3D. A couple of hours later and I had my first (hopefully) workable design! I even went as far as downloading a trial version of MouldFlow Advisor to help check my work.
I was so happy when I saw the MouldFlow simulation succeed and started printing the first mould prototype on that same day. We’re currently on the third major design revision, and I hope to make a fourth soon!
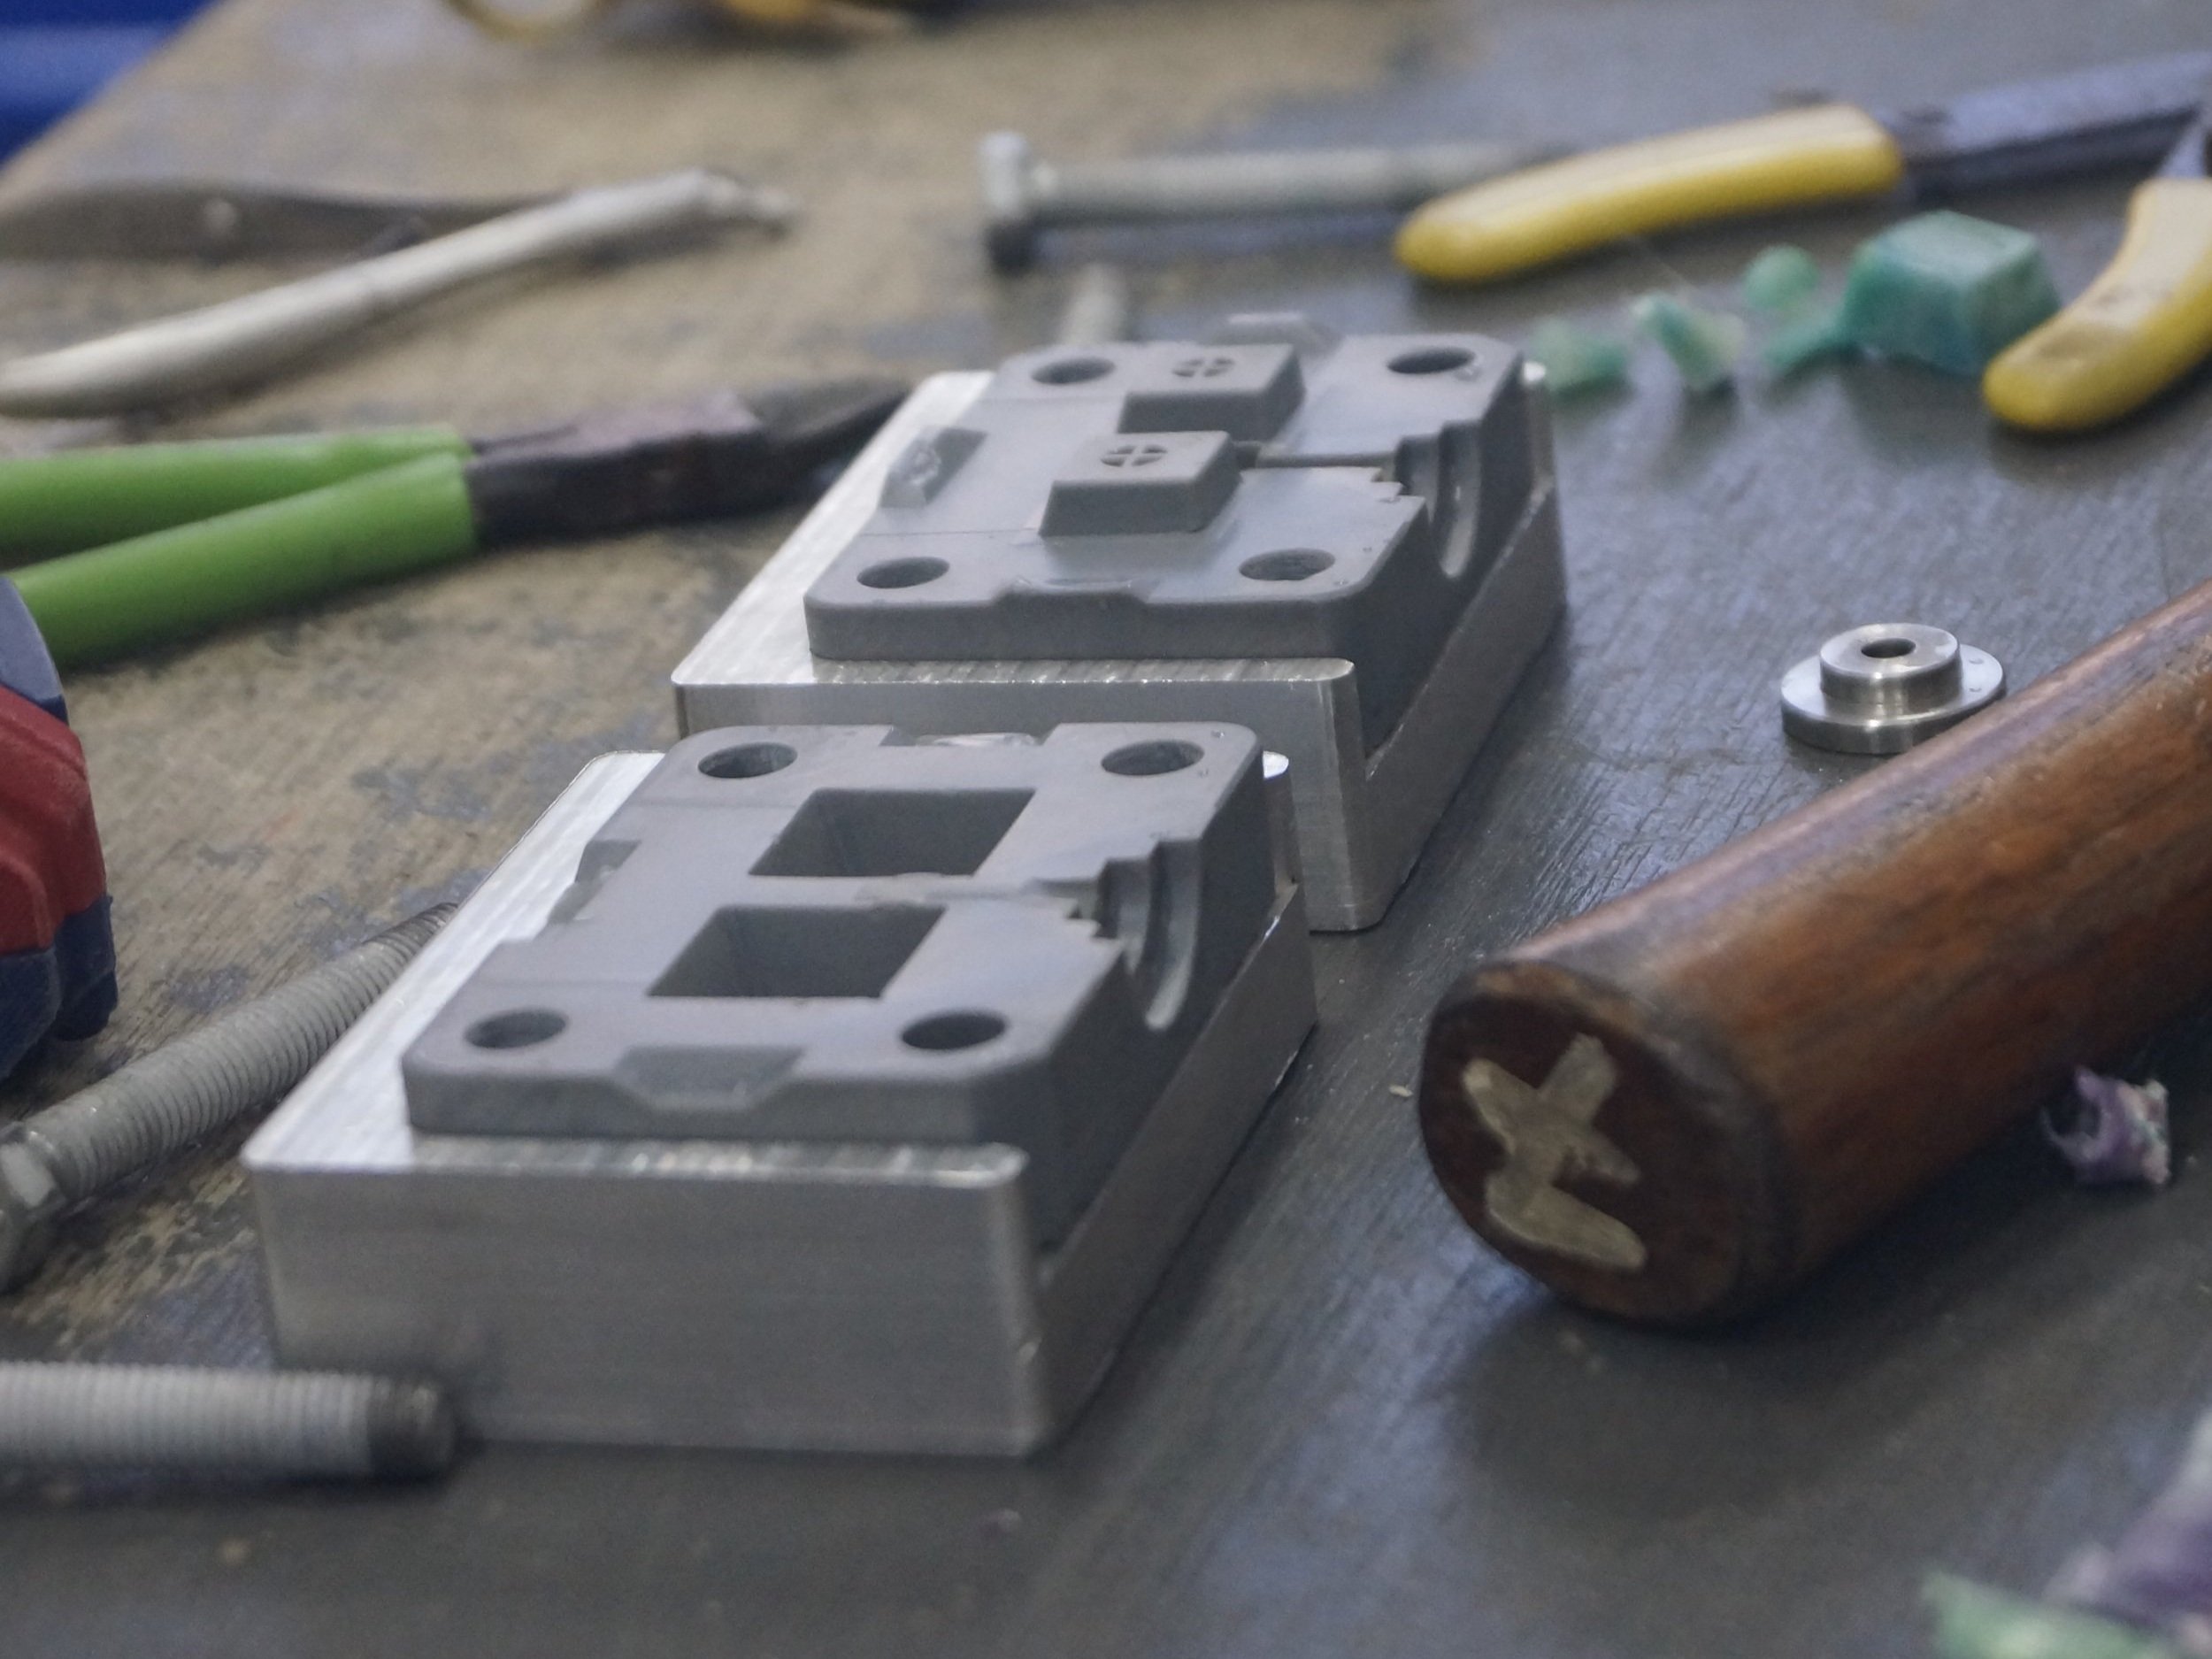
The first two design revisions worked, but had some small flaws that prevented me from being 100% happy with the resulting keycaps.
The third one was almost perfect and is the mould we’ll use for the rest of the project.
SHREDDER GOES BRRR
With the mould fabricated, we could now start the fun part (although I also found the design and fabrication of the mould really fun as well). Before injecting the plastic, we need to shred it into smaller flakes.
Well, shredding is technically the second step. First, the plastic has to be collected, cleaned and sorted by type. For this set of keycaps we only used Polypropylene or Type-5 plastic.
Once all the plastic is cleaned and sorted, we place them into the shredder and sort out the shreds by colour.
MAKE IT RAIN (PLASTIC)
We pick and mix a few different colours of plastic that we think would go well together and load them into the injector. These shreds will be heated to around 200 Celsius (just above the melting point of polypropylene) before being injected into the mould.
INJECTION TIME
Once all the plastic is up to temperature, we switch on the air compressor that supplies power to the pneumatic piston that will push the molten plastic into our mould.
It’s really important at this stage to keep an eye on the plastic. Since the recycled shreds often come from lots of different sources and manufacturers, different batches may need more or less heat to get it to a workable temperature. Too hot and you risk degrading the plastic, too cold and you won’t get a nice finished product.
It feels like this would be the end of the process right? Activate the piston and get your caps? Wrong!
We actually spent almost as much time experimenting here as we did when designing the moulds. How long we maintain pressure on the mould after the initial injection, how we cool down the plastic once it’s in the mould, and how long to wait before opening the mould, were all variables that we needed to lock down before we could make a part that we were proud of.
THE END
After fully cooling the mould and the plastic within, we can open it up and see if it was a successful injection.
And that’s pretty much the end of the process! We pull the keycaps out of the mould, clean up any flashing (making sure to keep the excess plastic for future use), and they’re ready for use!
If you’ve got this far and found this interesting, thank you! Please do share this with anyone you think might enjoy this and if you have the means, do consider picking up on of these caps for yourself (or a friend)!
It’s also my first time making one of these blog-ish post things so i’d love to hear any feedback that you may have. Join our discord if you haven’t already for more process shots like these!